 English
 русский
 عربى
عربى Español
Qinlang focuses on providing high-quality products and considerate services, and is committed to meeting every expectation of our customers.
The DKT-133 Cooling Ventilation Double Inlet Air Conditioning Fan is d...
See Details
Temporary ventilation is often needed when a room, work area, or enclosed space cannot rely on its normal air circulation. Repair work, cleaning, renovation, equipment maintenance, and short‑term indoor tasks can change how air moves through a space. A Portable Duct Fan can provide a practical way to guide air through a temporary path without changing the permanent layout of a building.
Installation, however, is not simply a matter of placing a fan on the floor and switching it on. Fan position, duct direction, connection condition, and the surrounding space all affect how air travels. A poorly arranged setup may move air without improving the intended area, while a careful arrangement can make temporary ventilation easier to manage.
Temporary work areas often have different ventilation needs from normal daily use. A room may usually have enough natural air movement, yet repair work can introduce dust, heat, odors, or stale air that needs to be moved away from the working area. Opening a door or window may help, although the available airflow may not follow the desired direction.
A Portable Duct Fan allows air to be directed through a connected duct toward or away from a particular area. Since the equipment can be moved, its position can change along with the work being carried out.
For example, a maintenance area may need air pulled away from a corner rather than simply circulated around the room. A long work space may also require the fan to be placed farther from the active area, with the duct forming a temporary route for air movement.
Another useful feature is the ability to remove the setup after work is finished. Permanent ventilation equipment is designed around a fixed building layout, while temporary equipment can follow short‑term changes in room use.
Good planning starts with a simple question: where should the air come from, and where should it go? Once that direction is clear, fan placement and duct routing become easier to decide.
A quick inspection before installation can prevent several common problems. The fan should be checked for visible damage, while the duct needs to be examined for tears, holes, loose sections, or objects caught inside. Connection areas deserve particular attention because a loose joint can change the intended airflow path.
The surrounding area also matters. A fan should have enough open space around its air intake, while the discharge side needs a clear route into the duct. Boxes, tools, fabric, waste material, or other objects placed too close to an intake can interfere with airflow.
Electrical safety also belongs in the preparation stage. The power source should be suitable for the equipment, and cables should be placed where they are unlikely to be stepped on, pulled, crushed, or exposed to conditions that could damage them.
A simple pre‑installation check can include:
A suitable location should also match the nature of the work. Dusty areas, damp locations, hot surfaces, and spaces with restricted access may require additional consideration before a temporary ventilation setup is used.
Once the equipment has been checked, attention can move to the area where air needs to travel. Removing unnecessary obstacles is often more useful than simply moving the fan closer to the work area.
Start by identifying the section where air needs to be drawn from or delivered to. Next, consider how the duct can reach that point without being sharply bent, squeezed beneath objects, or placed across a busy walking route.
A duct works best when its path is reasonably open. A sharp bend can reduce the available passage inside the duct, while repeated folding may make the route harder to maintain. Long unsupported sections can also move around when air begins to flow, especially when the surrounding space is active.
Placement should take nearby doors and windows into account as well. An open door can change the natural movement of air through a room, so simply adding a fan does not always produce the intended direction. A temporary setup works better when the fan, duct, opening, and work area are considered as one arrangement.
| Area to Check | What to Look For | Why It Matters |
|---|---|---|
| Fan position | Stable and unobstructed placement | Helps maintain steady airflow |
| Duct route | Open path with gentle bends | Reduces unnecessary restriction |
| Intake area | No nearby blockage | Allows air to enter freely |
| Outlet area | Clear direction toward the intended space | Helps guide air where needed |
| Walking route | Limited contact with cables and ducts | Reduces accidental movement |
| Surrounding conditions | Suitable space for temporary equipment | Supports safer operation |
Preparation does not require a complicated layout. A clear airflow route and a stable equipment position are often the main points that need attention.
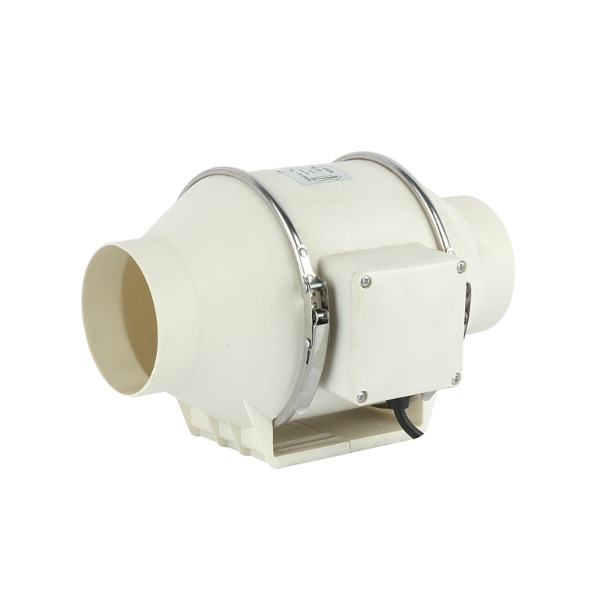
After the area is ready, the duct can be attached to the fan. Before making the connection, both sides should be checked so that the duct opening matches the fan connection area properly. A connection that appears attached from one side may still be loose around part of the opening.
The duct should sit evenly around the connection point rather than being twisted to one side. Once positioned, the fastening method should hold the duct securely during operation. The exact method depends on the equipment design, so the instructions supplied with the fan should be followed.
A useful manual check involves gently inspecting the joint after attachment. The duct should not separate easily, and there should be no obvious gap caused by an uneven connection.
Duct position also deserves attention immediately after connection. A secure joint can still perform poorly when the duct is sharply folded near the fan. Keeping the first section reasonably straight gives air a clearer route into the duct.
When several duct sections are used, each joint should be checked separately. One weak connection can affect the entire temporary route, especially when the duct is moved during work.
Fan placement depends on the purpose of ventilation rather than on convenience alone. A unit placed beside a doorway may be easy to access, yet the position may not provide the desired airflow through the working area.
For air removal, the duct may need to reach toward the area where unwanted air collects. For air supply, the duct direction needs to bring fresh air toward the intended working space. Either arrangement requires a clear route between the fan and the area being served.
Stability matters as well. A fan placed on an uneven surface may shift when the duct moves or when people work nearby. A flat, stable surface is generally easier to manage during temporary use.
Distance from walls and objects should also be considered around the intake side. Blocking that area can reduce the amount of air entering the fan. Loose materials should be kept away from moving parts and air openings.
A practical placement check can be made before starting the equipment:
Once the placement has been checked, the setup is ready for a controlled start. At that stage, airflow direction and duct behavior can be observed before regular temporary ventilation begins.
Once the fan has been positioned and the duct has been connected, a short inspection should take place before regular operation. A quick start can reveal problems that were not obvious while the equipment was switched off.
The duct should be watched as air begins to move through it. A section that suddenly collapses, twists, or pulls away from a connection may indicate an unsuitable route or a weak joint. Minor movement is not unusual during operation, although repeated shifting deserves attention.
Air direction should also be checked near the outlet. A duct may be connected correctly while pointing toward an unwanted area. In a temporary ventilation setup, the actual airflow path matters more than the apparent position of the fan.
Unusual noise can provide another useful warning. A new rattling sound, strong vibration, or sudden change in operating sound may come from an unstable position, an object near the intake, or a problem with the connection. The fan should be stopped before any adjustment is made.
A short starting check can focus on four points:
Small corrections at the beginning can prevent repeated movement later during the work period.
Temporary ventilation rarely remains untouched throughout an active work period. People move around, materials are carried through the area, doors change position, and the work location may shift. Such changes can affect a duct route that was suitable at the beginning.
Ducts should remain reasonably open along their full length. A section trapped under a box or pressed against heavy equipment can become restricted. Sharp bends near corners can create a similar problem.
Connection points also need occasional attention. A duct may loosen after being moved, especially when another section has been pulled or repositioned. Checking the joints after a layout change helps keep the intended route intact.
Air direction can be reassessed when work moves to another part of a room. For example, a repair task that shifts from one corner to another may leave the original duct position less useful. Moving the equipment a short distance can be more practical than forcing a long duct route through a crowded area.
Regular observation does not mean constant adjustment. The main purpose is to notice changes that affect airflow, stability, or safe movement around the equipment.
Several problems appear simple during setup and become more noticeable once the fan starts running. A poorly positioned duct, for example, may look acceptable while empty and then fold inward when air begins to pass through it.
A loose connection is another common concern. Even a small gap can allow air to escape from the intended path. Repeated movement can make the joint less stable, particularly when the duct passes through an active work area.
Fan placement can create problems as well. A unit placed too close to stored materials may have limited air intake. A unit sitting on an unstable surface may shift when the connected duct moves.
Cable and duct placement deserve attention in busy spaces. Both should remain outside common walking paths where practical. Crossing a doorway or narrow passage can create unnecessary contact with people or equipment.
Common problems include:
Correcting the physical layout is usually more useful than repeatedly adjusting the fan controls. Air movement depends heavily on the path created around the equipment.
Removal should begin with the fan switched off and allowed to stop completely. Disconnecting the duct while the fan is still operating can cause unnecessary movement around the connection area.
Once operation has stopped, the duct can be detached carefully. Pulling sharply on the flexible material may damage the edge or fastening area. A controlled release also makes later storage easier.
After removal, the fan housing and duct should be checked for dust, moisture, loose material, or visible damage. Temporary ventilation often takes place in working environments where airborne particles are present, so a quick cleaning can help keep stored equipment in reasonable condition.
Moisture deserves particular attention. A damp duct or fan should not simply be folded and placed into a closed storage area. Allowing suitable parts to dry before storage can reduce problems caused by trapped moisture.
Duct folding should also be handled with care. Tight folds made repeatedly in the same location can leave permanent creases and make later setup less convenient. A loose, orderly arrangement is easier to store and easier to unfold during the next temporary installation.
Temporary ventilation works best when the equipment layout follows the actual work rather than remaining fixed without reason. A renovation area, maintenance zone, or cleaning space can change considerably during a working period, and airflow needs may change along with it.
A Portable Duct Fan can be repositioned when the working area moves. Before moving the equipment, the fan should be switched off, the duct released as needed, and the new route checked for obstacles. A new position should still provide a clear intake and a practical duct path.
Duct length also influences how easily a temporary setup can be changed. A short route may be simple to reposition, while a longer route can pass through several areas and require additional checks at each section.
Good temporary ventilation is therefore less about keeping equipment in one fixed location and more about maintaining a sensible airflow route as conditions change. Fan position, duct direction, work location, and surrounding space need to remain compatible throughout use.
A practical arrangement usually follows a simple sequence:
Careful installation does not require a complicated process. A clear ventilation path, secure connections, stable placement, and regular observation can make temporary airflow easier to manage. As the working environment changes, the equipment can be adjusted to match the new layout rather than forcing the original arrangement to remain unchanged.
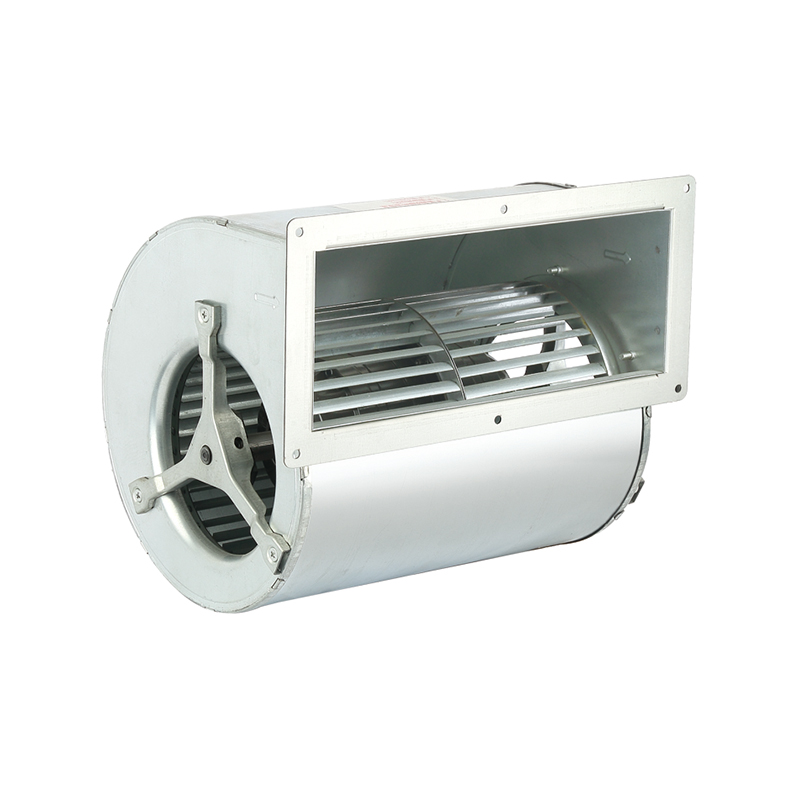
The DKT-133 Cooling Ventilation Double Inlet Air Conditioning Fan is d...
See Details
The DKT-146 Multi-Function Variable Frequency Double Inlet Air Conditi...
See Details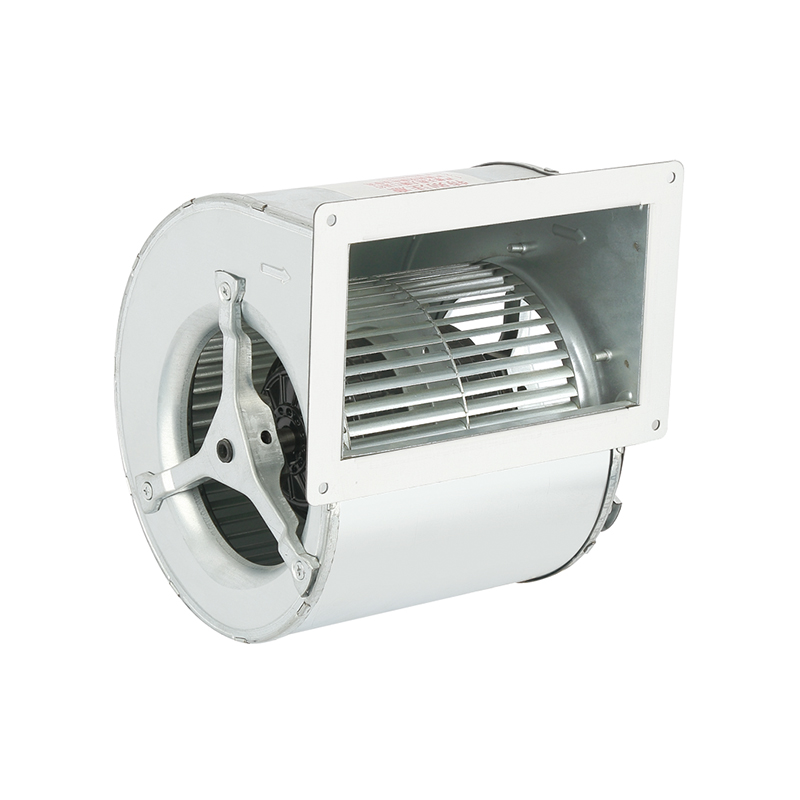
The DKT-160 Heat Dissipation Exhaust Double Inlet Air Conditioning Fan...
See Details
The DKT-180 Tilt Back Cool Down Double Inlet Air Conditioning Fan, a s...
See Details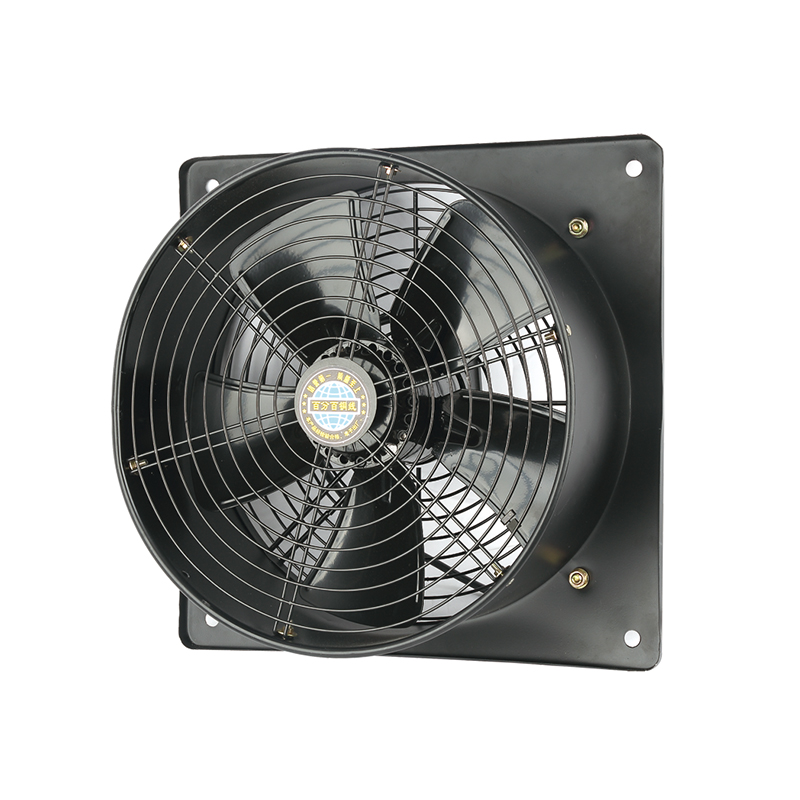
The YWF-400-2D2E Efficient Square form Axial fan is designed with a fo...
See Details
The YWF-350-2D2E Low noise Square form Axial Fan is designed with a co...
See Details
The YWF-350-4D4E Low vibration Square form Axial Fan is a outstanding ...
See Details
The YWF-400-4D4E Durable Square form Axial Fan is designed with advanc...
See Details
Qinlang focuses on providing high-quality products and considerate services, and is committed to meeting every expectation of our customers.
© Zhejiang Qinlang Electromechanical Co., Ltd.
Fans And Air-Cooling Equipment Factory
